
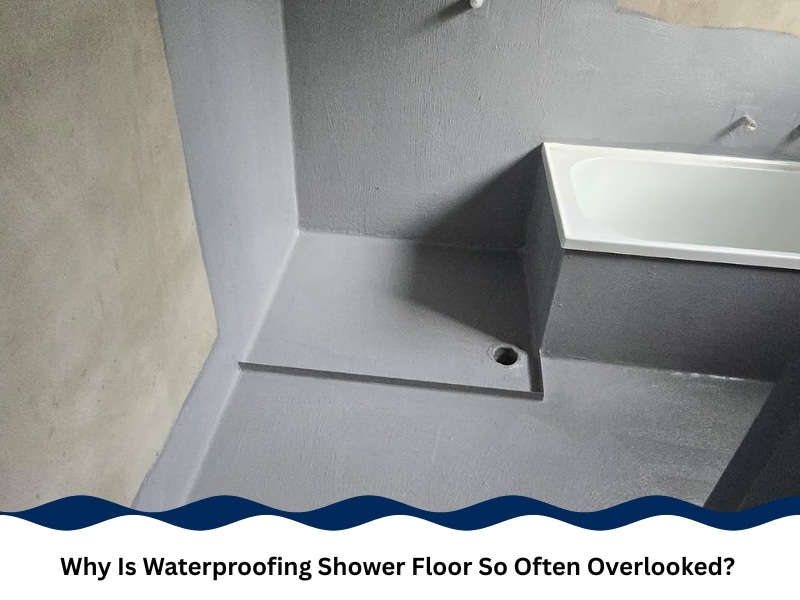
Over time, even a perfectly tiled shower floor can start leaking if it isn’t properly sealed from the start. Yet, many homeowners overlook this crucial step, believing tiles alone will do the job. In reality, ignoring proper sealing leads to expensive damage that’s not visible until it’s too late. This article explores the causes of these issues and how understanding proper waterproofing shower floor practices can help prevent them.
Why do so many shower floors eventually leak?
Leaks happen when water bypasses the tiled surface and penetrates the subflooring. It’s more common than most people think, and it can almost always be prevented with correct installation.
- Grout isn’t waterproof — water can seep through joints even when tiles look intact
- Movement in building foundations may create hairline cracks that compromise waterproofing layers over time.
- Inadequate slope towards drains allows standing water to collect and penetrate below the tile layer
- Sealing penetrations like pipes or taps improperly creates entry points for hidden moisture buildup beneath the surface
With time, these small issues compound and result in persistent shower floor leaks. Leaks usually stay hidden at first. Beneath the tiles, timber rots, concrete corrodes, and mould spreads unnoticed until major repairs are needed. Catching it early is critical, but most don’t realise anything’s wrong until it’s far too late.
What happens if the waterproof membrane fails?
Your waterproof membrane acts as the final shield beneath your tiles. When they break down or are incorrectly applied, water has nowhere to go but into the structure.
- Minor membrane punctures can cause large damage over months or years
- Some products degrade faster in high-humidity environments like showers
- Inadequate curing times lead to brittle membrane surfaces prone to cracking
- Pipes and drains often create weak points if sealing is rushed or skipped
One overlooked risk is substrate degradation — especially in older bathrooms. A broken seal leads to structural rot or cement swelling, which can shift floor levels. That’s why subfloor damage from leaking showers is such a silent killer of bathroom longevity.
Is mould a warning sign of deeper waterproofing issues?
Not all mould comes from a lack of ventilation. Some stems from trapped moisture under tiles — a likely sign of failure below the surface.
- Mould appearing near shower bases often tracks internal water paths, escaping the compromised waterproofed zones
- Lingering odours, especially musty or earthy smells, suggest moisture buildup in cavities behind shower walls.
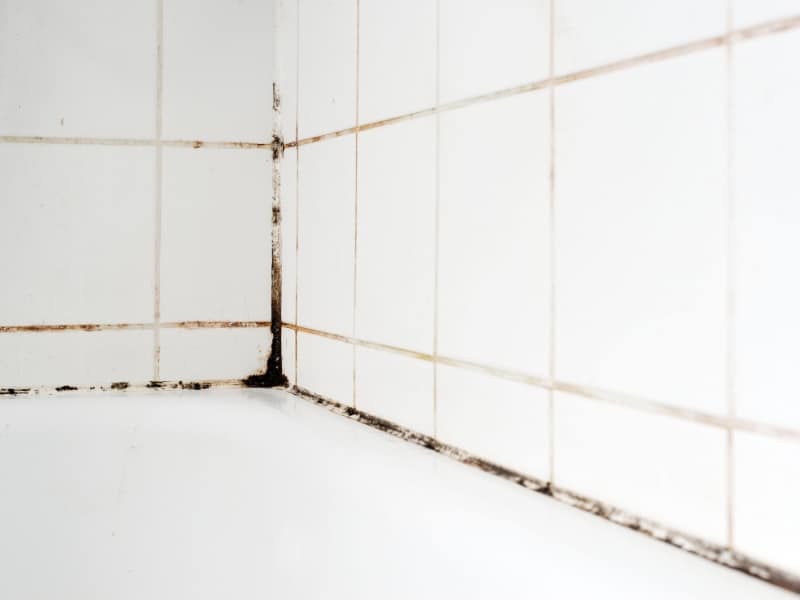
- Black spots behind silicone sealant or grout could indicate hidden moisture escaping from beneath the tiles
- Bubbling paint, swelling skirting boards, or tile lifting are subtle but critical red flags worth investigating.
Your nose often picks it up first — that damp, musty smell near the shower that won’t go away. Sometimes, mould appears in odd places: at the base of an internal wall or in cupboards sharing a wall with the bathroom. These can all point to leaks beneath the tiles. Ignoring the signs lets the damage multiply quietly until it demands urgent attention.
If your bathroom constantly smells damp or mould returns fast after cleaning, it could signal mould from shower waterproofing failure. Don’t dismiss these signs — they’re telling you something’s gone wrong behind the scenes.
What steps ensure effective waterproofing of a shower floor installation?
Proper waterproofing isn’t just about applying a product — it’s about precision and patience. Done well, it prevents leaks for decades.
- Apply two coats of membrane with full curing time between each
- Seal all junctions, edges, and penetrations with compatible bond breakers
- Slope floors toward drains before tiling to avoid pooling
- Always prime surfaces first to ensure membrane adhesion lasts
To see how it’s professionally done, you can explore trusted solutions for waterproofing shower floor areas. A well-executed installation protects both the subfloor and your peace of mind for years to come.
How can you test if your shower floor is sealed?
Not sure if your bathroom is waterproofed properly? You can test the seal using simple methods — and you should, especially in older homes.
- Perform a flood test by sealing drain and filling base with water
- Check for damp spots around external walls or adjacent rooms
- Look for hairline tile cracks or grout loss in high-traffic areas
- Monitor underfloor areas for humidity or odours over time
You don’t need special equipment to identify trouble. Visual signs, combined with a bit of patience, can tell you a lot. If you suspect something’s off but aren’t confident, it’s worth having an expert investigate.
If it fails one of these checks, it might trace back to how missing waterproofing causes cracked tiles — a hidden hazard many underestimate. Waiting for visible damage is risky. Sealing failures don’t fix themselves, and delays mean bigger repairs later. These small steps can stop thousands in damage and health costs.
Should wet area tiling come before or after sealing?
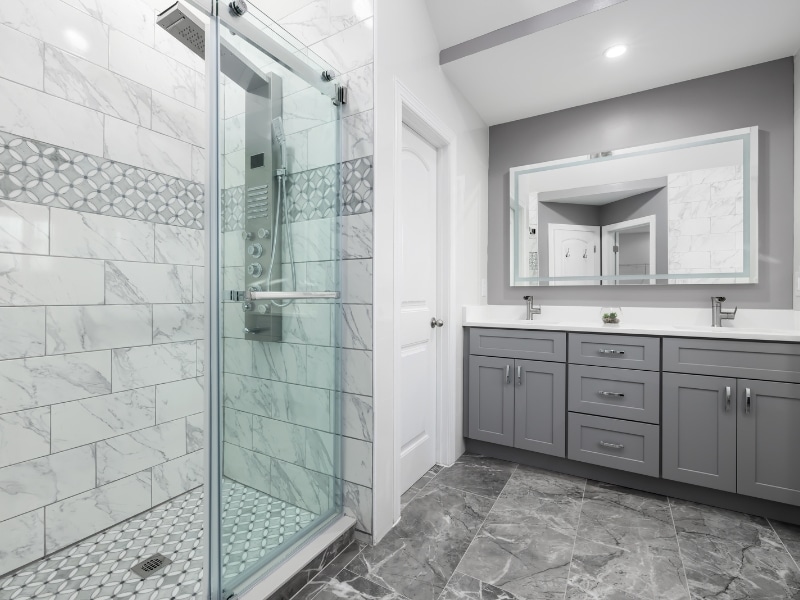
This is one of the most misunderstood steps in bathroom construction. Tiling must follow, not precede, the sealing process — or you’re sealing over the wrong surface.
- Waterproof membrane must bond directly to the raw, prepped subfloor or walls
- Sealing over tile skips crucial junctions like wall-to-floor corners
- Tile adhesives may not bond properly over membranes if incorrectly layered
- Proper order ensures water flows into the drain, not behind the tile
When planning your bathroom, it’s worth understanding the role of compliant waterproofing systems for bathrooms to ensure materials and timing work together, especially when dealing with wet area tiling.
Here’s a quick table comparing good vs bad sequencing:
| Steps | Correct Sequence | Incorrect Sequence |
| Prime substrate | ✅ Yes | ❌ Often skipped |
| Apply a waterproof membrane | ✅ Before tiling | ❌ After tiling |
| Allow full cure time | ✅ 24–48 hrs | ❌ Rushed or ignored |
| Install tiling | ✅ Last | ❌ Done too early |
Final thoughts on waterproofing the shower floor
Shower damage isn’t just annoying — it’s expensive and disruptive. Sealing right the first time is your cheapest insurance.
- Waterproof membranes must be planned, not improvised after tiling
- Surface cracks or mould suggest deeper issues — don’t delay assessment
- Always allow full cure time between each sealing stage
- Early testing helps detect hidden damage before it spreads
If you’re still unsure where your bathroom stands, discover how Ultimate Waterproofing Solutions manages waterproofing challenges.


